How to Design Your Own Customize Sticker Sheets?
When looking at the stickers in the online market, did you ever think about designing your own sticker sheets? Well, if not, it’s the right time to step into the world’s most creative and exciting activity, custom sticker making.
This article will explain how you can design and sell your custom-made sticker sheets by following very easy steps. So, if you want to know, let’s start with the design.
Step 1 Design
The first step of making your own custom sticker sheets is the design. There are many different methods used to design the stickers. Usually, different graphic designing tools are used in sticker designing.
Photoshop and Adobe Illustrator are the two most commonly used digital sketch tools where you can design your imaginations in the shape of stickers.
Using digital tools, you can even draw your stickers and scan them into your computer to make further changes.
Step 2 Formatting or Preparations
After you have done with your artwork, the next step is formatting or changing those artworks into stickers. For formatting, different online software is used as canvas, adobe spark, or you can use any other editing tool you are familiar with.
If you draw your design on paper, you can scan them into your computer to upload the image on software. Use high-quality resolution to scan your image, like 600 dpi or more but don’t go below 300 dpi.
Use the software to create different layers and set the color combinations and brightness. Regardless of editing, only use your image’s transparent/white background.
After all the editing, adjust the size of your sticker in full resolution. You can use the 3 to 4 inches recommended sticker size for size adjustment. Choosing the same picture size as you want on prints would be really helpful for you later on.
After doing all the settings, save your sticker picture in different formats like PNG, PDF, or others.
Step 3 Arrange and Print
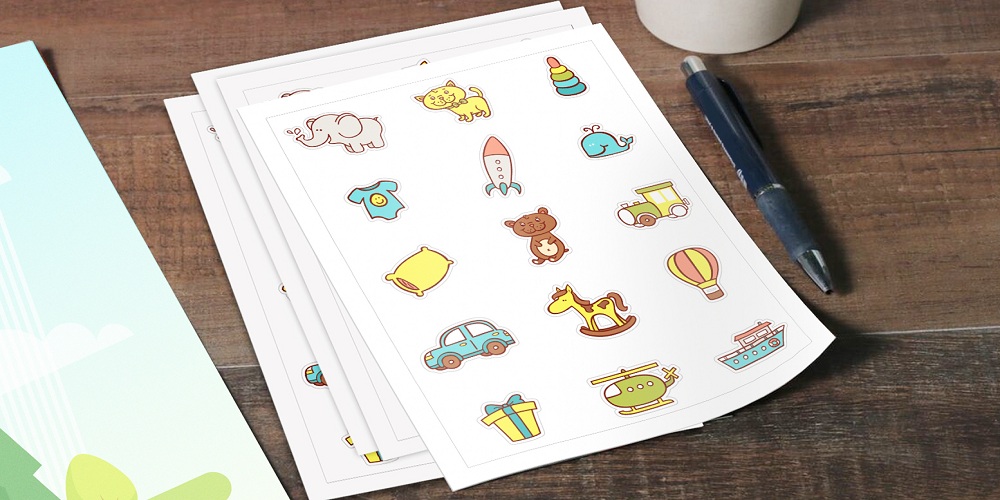
The next step is arranging all your images on one page for printing. When arranging the stickers, ensure they have equal spaces in them and are not very near to margins because margins can crop out while printing.
After arranging, send your sticker sheet for printing. Mostly for printing, 8.5” x 11” adhesive paper is used. After printing out your stickers on sheets, the next step is the packaging.
Fold all the sticker sheets properly and pack them in plastic paper or the other packaging bags. To make your packaging nice, you can use customized or paper labels to design plastic bags.
The major benefit of customized sticker sheets is that you don’t need to cut all the stickers to sell them, which saves a lot of your time and energy.
Step 4 Selling
Now, as you are already done with everything, your next step is to sell your custom-design stickers on the market. You can create your own web page or join a selling website like Alibaba to show your stickers to the customers.
Conclusion
Customized sticker formation is the best in-house business that you can run. If you are into photo editing or graphic designing, this process will be much easier. This business will save a lot of your time, investment, and energy like many other businesses.